Stripped Spark Plug Thread Repair: Helicoil vs. TimeSert vs. Rethreader
By WhatSizeBoltEdited 10 min read2 source links
Do not use this guide as a complete repair procedure until the kit-specific instructions and chip/tang handling have been checked.
Scope and sources
Applies to: Exact engine, cylinder head, spark plug and approved repair kit. Kit-specific repair procedures still require technical review.
NGK: spark plug installation, anti-seize section — NGK advises against anti-seize on its spark plugs. This does not establish insert-kit installation procedures.
An overview of thread chasing, wire inserts and solid inserts. Use the exact engine and approved repair-kit instructions, and verify driver installation and chip/tang handling.
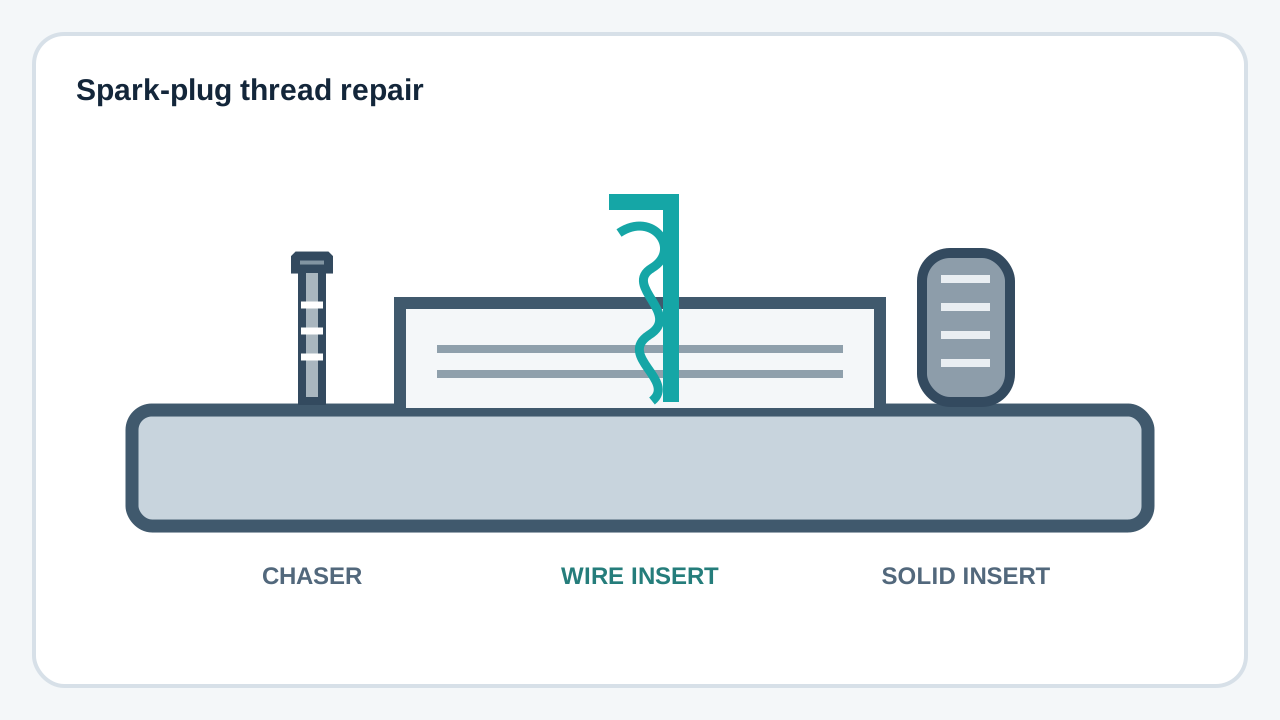
Schematic illustration, not a grade identification, dimensioned drawing or application-specific procedure. Follow the exact product and vehicle instructions.
Repair scope: This overview is not an engine-specific repair authorization. Use the exact approved kit instructions, confirm thread/seat/reach, account for chips and any tang, and obtain specialist help if the bore or debris cannot be verified. Do not install plugs with anti-seize by default, and never use plug torque in place of the TIME-SERT installation driver.
Stripped spark plug threads are more common than most people expect. Aluminum cylinder heads — standard on virtually every modern engine — are soft enough that overtorquing, cross-threading, or simply years of thermal cycling can destroy the threads in the bore. When a spark plug won't torque down or starts spinning freely, panic sets in fast.
The good news: in the vast majority of cases you can repair the threads in the car, with the engine in the vehicle, in a couple of hours. The bad news: there are three meaningfully different repair methods on the market, they are not all equal, and using the wrong one can turn a $50 repair into a cylinder head replacement.
This guide covers the three main approaches — thread chaser (rethreading), Helicoil, and TimeSert — with a direct comparison, step-by-step process for each, and the specific scenarios where each one belongs.

Damaged spark plug threads in an aluminum cylinder head — a repairable situation in most cases, but the method matters.
How spark plug threads strip — and what you're actually dealing with
Understanding the failure mode determines which fix is appropriate.
Most spark plug bores in modern engines are M14×1.25 (14 mm diameter, 1.25 mm pitch). A small number of applications use M12×1.25 (Honda, some small engines) or 18 mm (older engines). Before you buy any repair kit, confirm your thread spec — kits are thread-specific and not interchangeable.
Stripping happens in three patterns, each with different severity:
- Partial damage / cross-threading. One or two threads are damaged but the majority are intact. The plug will start but won't torque properly. This is the best case — often fixable with a thread chaser alone.
- Overtorque strip-out. Several threads have sheared or deformed from over-tightening. The plug either won't seat at all or torques to zero resistance. Requires a proper insert (Helicoil or TimeSert).
- Blow-out. The plug has physically blown out of the bore under combustion pressure, carrying threads with it. Classically associated with Ford Triton 2-valve V8s (4.6L, 5.4L). Requires a specialized blow-out repair kit — different from a standard thread insert.
Method 1 — Thread chaser / rethreader (the quick fix)
Best for: minor cross-threading or galled threads where the bore is basically intact.
A spark plug thread chaser looks like a spark plug with hardened steel cutting edges instead of a ceramic insulator. You run it into the bore by hand (never with an impact), and it reshapes deformed aluminum threads back to spec as its tool instructions specify; some tools cut or remove material. It is not a repair for missing load-bearing threads. Do not assume cleanup alone makes a damaged bore safe.
When it works:
- The plug was cross-threaded and galled the threads but didn't shear them.
- Carbon buildup is preventing proper seating.
- The plug torques, but higher than expected resistance made you nervous.
When it won't work:
- Threads are sheared off or missing. A chaser can't replace material.
- The plug spins freely with zero resistance — there's nothing left to reshape.
- Blow-out scenario.
Process:
- Bring the piston to BDC (bottom dead center) on that cylinder so debris falls away from the valves.
- Pack the chaser threads with grease to catch aluminum shavings.
- Thread the chaser in by hand, slowly. Never use a ratchet or impact.
- Back out every half-turn to clear debris.
- Remove, clean the bore thoroughly with compressed air and a rag.
- Install the correct plug using the exact plug, engine and approved repair-kit instructions. NGK specifies no added anti-seize or lubricant on its plated plugs. Resolve conflicting instructions before proceeding; do not use a generic torque reduction.
Lisle 65600 Spark Plug Thread Chaser
The go-to thread chaser for M14×1.25 aluminum heads. Reshapes deformed threads without removing material. Always the first step before committing to a full insert repair — if the threads are intact enough to chase, you can skip the drill-out entirely.
Method 2 — Helicoil (wire insert)
Best for: stripped threads where original bore material is damaged but intact — especially on a budget.
A Helicoil is a coiled stainless steel wire insert. The process involves drilling out the damaged bore slightly oversize, tapping new threads at the larger diameter, and threading in the coil. The inside of the coil returns the bore to the original M14×1.25 spec, so your standard spark plug fits normally.
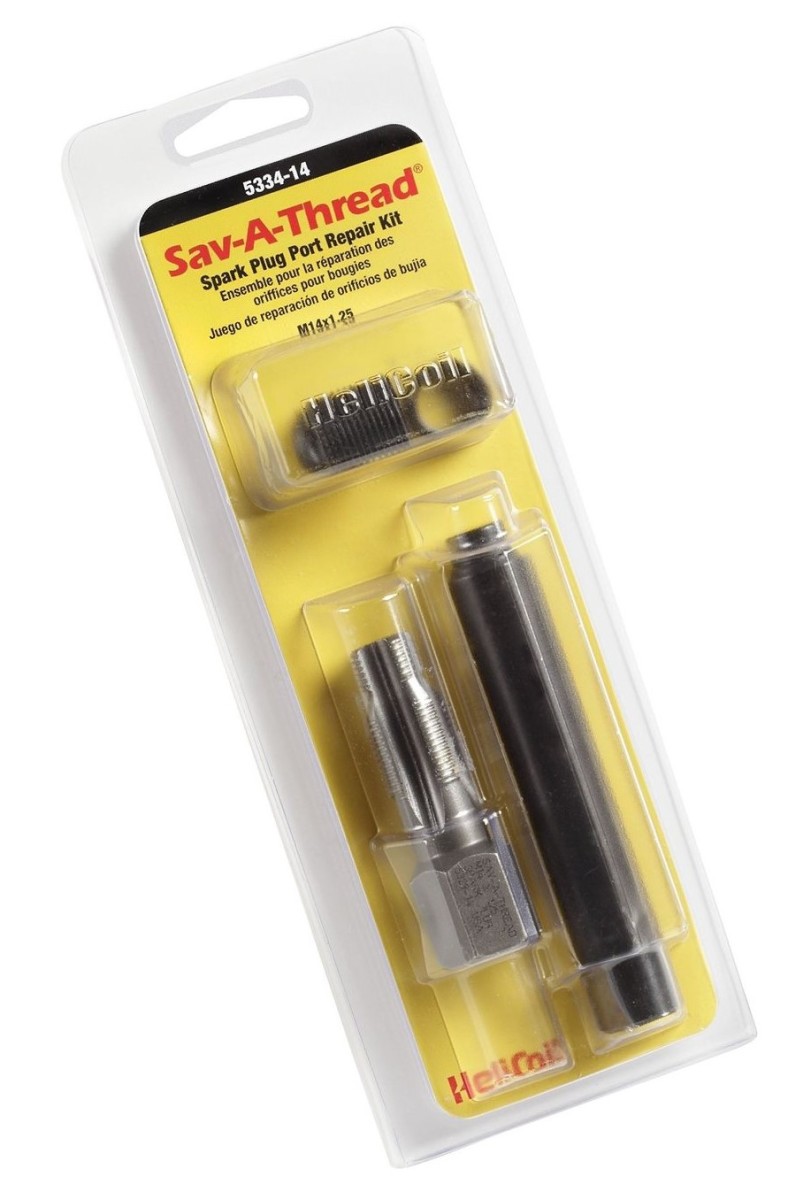
A Helicoil repair in progress — the wire insert restores the original M14×1.25 thread spec after the bore has been drilled out and retapped.
Pros:
- Widely available and less expensive than TimeSert kits.
- Stainless insert is harder than the surrounding aluminum — the repaired thread resists future stripping.
- The standard method for most DIY repairs.
Cons:
- The coil can unwind or back out if not installed correctly, especially on blow-out scenarios with damaged bore walls.
- Drilling accuracy matters: off-axis drilling ruins the repair. A drill guide is essential.
- Not recommended for Ford Triton blow-outs where the bore wall is compromised.
Process overview:
- Bring piston to BDC. Pack the bore with grease to catch chips.
- Using the kit's drill guide (mandatory — do not freehand this), drill the bore to the specified oversize.
- Tap new threads with the supplied tap. Use cutting fluid.
- Thread the Helicoil insert in using the insertion tool until the top of the coil sits one half-turn below the bore surface.
- Break off the installation tang with the punch tool.
- Recover debris and any removed tang as the approved kit requires before installing the correct plug. Follow its specified thread condition and torque. If debris cannot be accounted for, stop and obtain specialist help; do not start the engine.
Helicoil 5546-14 Spark Plug Thread Repair Kit — M14×1.25
The original Helicoil kit for M14×1.25 spark plug threads. Includes drill, tap, insertion tool, and wire inserts. The correct choice for most stripped spark plug repairs that don't involve a Ford Triton blow-out.
Method 3 — TimeSert (solid thread insert)
Best for: severe strip-out, Ford Triton blow-outs, or any repair where you need maximum strength.
A TimeSert is a solid steel threaded bushing rather than a wire coil. It threads into an oversized tapped bore and locks itself in place — the installation driver completes the locking/expansion step before the spark plug is installed. TIME-SERT's 4412/4412E instructions describe driving through the insert until the driver loosens, then backing it out; they warn against dropping the driver into the head. Kit, thread, seat and insert length must match the exact application; do not assume every kit restores the same thread.

TIME-SERT kit identification only. Use the correct application-specific insert and complete its prescribed driver installation; a product image is not proof of repair suitability.
Pros:
- The solid insert is designed to lock using its prescribed installation process. Correct kit selection, bore preparation, insert length and driver operation matter; this is not a guarantee against every failure.
- Superior repair for Ford Triton plug blow-outs — the solid construction engages compromised bore walls better than a wire coil.
- Widely used by professional shops as a permanent repair.
- For TIME-SERT 4412/4412E, the installation driver completes locking before plug installation. The spark plug is not the installation driver.
Cons:
- More expensive than Helicoil kits.
- Requires more precise drilling — the counterbore step demands the right depth. The kit includes a stop to prevent over-drilling.
- Harder to find at local auto parts stores; usually an online or specialty tool purchase.
Process overview:
- Bring piston to BDC. Apply grease to catch chips.
- Drill the bore to the specified size using the kit's drill guide.
- Counterbore the top of the bore with the supplied counterbore tool — this creates the seat for the insert's flange.
- Tap the bore with the supplied tap.
- Thread the insert in by hand until it bottoms. The flange should sit flush.
- Complete and verify the kit's installation-driver process, recover debris, then install the correct plug to its applicable instructions. Plug torque is not a substitute for insert-driver installation.
Time-Sert 4412 Spark Plug Thread Repair Kit — M14×1.25
A solid-insert option only when its kit is approved for the exact damaged bore, engine, plug thread and seat. TIME-SERT uses an installation driver; plug torque does not install the insert. Ford applications require their specified kit, not a generic recommendation.
Helicoil vs TimeSert: which should you use?
A direct comparison across the factors that matter for a DIY repair decision.
| Factor | Thread chaser | Helicoil | TimeSert |
|---|---|---|---|
| Cost (approx.) | $15–$30 | $25–$60 | $80–$150 |
| Insert type | None (reshapes) | Wire coil (SS) | Solid bushing (steel) |
| Drilling required? | No | Yes | Yes + counterbore |
| Locking mechanism | N/A | Tang engagement | Installation driver; complete before plug installation |
| Insert-back-out risk | N/A | Low (if installed correctly) | None once locked |
| Ford Triton blow-out | Not suitable | Not recommended | Preferred |
| Skill level | Beginner | Intermediate | Intermediate |
| Availability | Auto parts stores | Auto parts / online | Online / specialty |
The short answer: if your budget allows and the damage is anything more than cosmetic, buy the TimeSert. You will do the repair once and never think about it again. If you are on a strict budget and the bore wall is in good shape, a correctly installed Helicoil is a perfectly acceptable repair. Use the thread chaser first regardless of which insert path you choose — it cleans the bore before you drill and often reveals how bad the damage actually is.
How to avoid stripping spark plug threads
The repair is satisfying, but prevention is easier. The three causes of stripped spark plug threads are overtorquing, cross-threading, and dry installation in aluminum.
- Always use a torque wrench. Spark plugs in aluminum heads torque to 13–20 ft-lb depending on the application. That is lighter than most people expect. “Snug plus a quarter turn” is not a substitute for a calibrated reading.
- Thread plugs in by hand first. If you feel any resistance before the plug seats, back it out and start over. Cross-threading is almost always caused by using a socket before confirming the plug is running true.
- Follow the exact plug and approved repair-kit instructions. NGK says no anti-seize or lubricant on its plated plugs. Other products require their own instructions. Do not add compound by default or apply a universal percentage torque adjustment.
- Replace plugs at the correct interval. Plugs left too long seize to aluminum heads due to galvanic corrosion. A seized plug that is forced out takes threads with it. Apply a shot of penetrating oil and let it soak if a plug is reluctant to move.
Tools you need for any spark plug thread repair
Have these ready before you start — stopping mid-repair to source a missing tool creates problems.
Spark Plug Thread Chaser — M14×1.25
Run this before committing to any insert repair. Cleans and reshapes minor damage, and definitively tells you whether you need to drill. Takes 5 minutes and can save you 2 hours.
Helicoil 5546-14 Spark Plug Thread Repair Kit
The standard wire-insert repair for stripped aluminum spark plug bores. Correct choice for most everyday strip-out situations on non-Triton engines. Always use the included drill guide.
Time-Sert 4412 Spark Plug Thread Repair Kit
Solid-insert repair is kit- and application-specific. Verify the exact engine, bore damage, thread, seat and approved kit rather than choose by a blanket strength or permanence claim.
As an Amazon Associate, WhatSizeBolt earns from qualifying purchases on the links above.
Related reading
- Common Fastener Problems and How to Fix Them — the full guide to stripped, seized, and broken fasteners.
- How to Drill Out a Broken Bolt — the same drilling discipline applies to spark plug bore repair.
- Torque Specifications Guide — how to look up and apply the correct torque value for your application.
- Oil vs Anti-Seize: When to Use Each — whether to use anti-seize on spark plug threads and how it affects torque readings.
Repaired the threads and need to confirm your spark plug torque spec? Use our fastener lookup to find the OEM torque value for your vehicle.